
 DIY Rice Bags for Pain Relief: Easy Homemade Comfort
Homemade rice bags are a super useful way to soothe sore muscles, ease cramps, or simply unwind after a hectic day. I started making these little heat packs years ago, and now I can’t imagine getting through winter, or recovering from a tough workout, without them. Toss one in the microwave for quick, relaxing heat that hits exactly where you need it. You can also chill one in the freezer for gentle cold relief. With just a few supplies, you’ll get a homemade remedy that rivals anything at the drugstore.
The best part about making rice bags is how customizable they are. Choose your favorite fabric, add calming scents, and size it to fit just what you need. Even if sewing isn’t your thing, the steps are straightforward enough so anyone can put one together and feel satisfied with the results. These little bags also make great gifts when you want to show someone you care.
Why Rice Bags Are Really Handy
- No fancy skills required. Anyone can make these with simple sewing, and you can even use fabric glue if you’d rather not sew.
- Soothing warmth or chill. Heat the bag to relax sore spots or cool it down for gentle icepack relief.
- Budget friendly and reusable. All you need is a scrap of fabric and some rice you probably already have at home.
- Customizable for you. Pick your own fabric patterns, add scents like lavender or eucalyptus, and make whatever size works for your body.
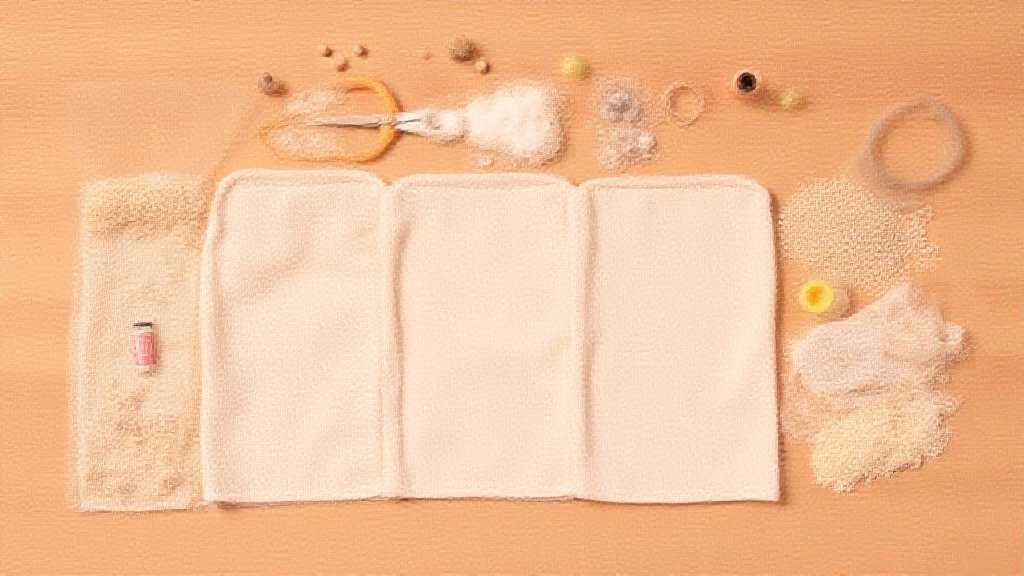
Supplies You’ll Need
Here’s a simple checklist for making your very own rice bag for pain relief:
- 100% cotton fabric (about a quarter yard works well for a small bag)
- Uncooked rice (long grain white rice works best; avoid instant rice)
- Thread (if sewing)
- Scissors
- Sewing needles, a sewing machine, or strong fabric glue
- Funnel or spoon
- Optional: essential oils (like lavender, chamomile, or peppermint)
- Optional: a ribbon or fabric strip for tying
How to Make a Rice Bag from Scratch
1. Cut Your Fabric
Decide what shape you want the bag to be. Rectangles around 6×12 inches are versatile—they sit nicely across your lower back or wrap around a sore neck. Cut two pieces of cotton fabric to your chosen size.
2. Sew the Edges
Place the fabric pieces right sides together. Sew around three sides with a straight stitch, about a half inch from the edge, leaving one short end open. If you’d rather glue, use strong fabric glue and press the edges together, once again leaving an opening.
3. Fill With Rice
Turn the pouch right side out. Using a funnel or spoon, fill the bag about two thirds full with uncooked rice so it stays flexible and molds around your body nicely. Don’t pack it too tightly; you want it to be comfortable and easy to move around.
4. Add Scent
If you’d like a little aromatherapy, mix a few drops of essential oil with the rice before adding it in. Lavender is calming, and eucalyptus can help open up sinuses. You can even experiment with peppermint if you want something fresh and energizing.
5. Close It Up
Fold in the raw edges and sew (or glue) the opening shut. Go over the end twice for extra strength if you’re worried about rice spilling out. Now your homemade pain relief rice bag is ready to put to work!
How to Use a Rice Bag for Pain Relief
- For warmth: Pop the rice bag in the microwave for 60–90 seconds. Always test the heat before applying to your skin, and shake the bag to even out the warmth. If it’s a bit cool, heat in 20second bursts until it feels just right.
- For cold: Slip the bag inside a sealed plastic bag and leave it in the freezer for at least an hour. The chilled rice pack feels gentle and soothing on sore muscles or even swollen eyes.
Rice bags are perfect for shoulders, necks, knees, and bellies. Just keep an eye on heating times, and be sure to let the bag cool down if using repeatedly in a short period.
Tips for Customizing Your Rice Bag
- Add dried herbs, like chamomile or mint, for an extra fresh aroma when heated.
- If you want sections so the rice doesn’t all slide to one end, sew straight lines across the bag after you’ve partially filled each section. This is helpful for longer or larger bags.
- Keep your rice bag in a dry place when not using it. Give the cover a good wash every so often if it’s removable, or plan to replace the rice after a few months to keep things clean and fresh.
- Try making a few different sizes—tiny ones are amazing for hands or wrists, while larger versions are handy for the lower back or stomach cramps.
Frequently Asked Questions About DIY Rice Bags
Q: Can I use other grains or fillers instead of rice?
Absolutely. Flaxseed, dried beans, or corn all work well too. Rice is popular since it’s easy to find and tends to hold heat nicely, but you can mix in other fillers if you want to adjust how it feels or how long it stays warm.
Q: How long does a homemade rice bag stay warm?
Most rice bags keep their heat for about 20–30 minutes after microwaving, depending on their size and how long you heated them. If you need more heat, just pop it back in the microwave for another quick burst.
Q: Can I wash my rice bag?
If your bag has a removable, washable cover, that’s the way to go. Otherwise, rice itself doesn’t handle moisture well, so only wash the cover. If the main part gets dirty, it’s best to empty out the rice, wash the fabric, and refill with fresh rice when dry.
Q: Are there safety precautions for microwaving?
Yes—never leave your rice bag unattended while microwaving, and always test the warmth before placing it on bare skin to prevent burns. Make sure the fabric and filling are dry, as dampness can cause the rice to spoil or heat unevenly.
Give This DIY Soothing Trick a Try
Homemade rice bags are a simple and budget friendly way to get relief from everyday aches and pains. Whether you heat one up for tension after a long day, or chill it after a tough run, it’s always helpful to have one ready. Try making a few for different spots or even gifting them to friends. I’d love to hear about your own rice bag creations and which scents or fabrics you like best. Feel free to share your tips and results if you try out this project!
Leave a Reply